
Report an incident
Summary: You will create a new incident record using the manual entry form, entering as much or as little detail as you have.
Prerequisites
- A role that can create incidents: Administrator, Supervisor, Manager, Investigator, or Store Coordinator. Regional and District Asset Protection Managers can also create incidents, but only for stores in their territory.
- A valid store number for the location where the incident happened.
Open the form
- Go to Incidents and select New Incident.
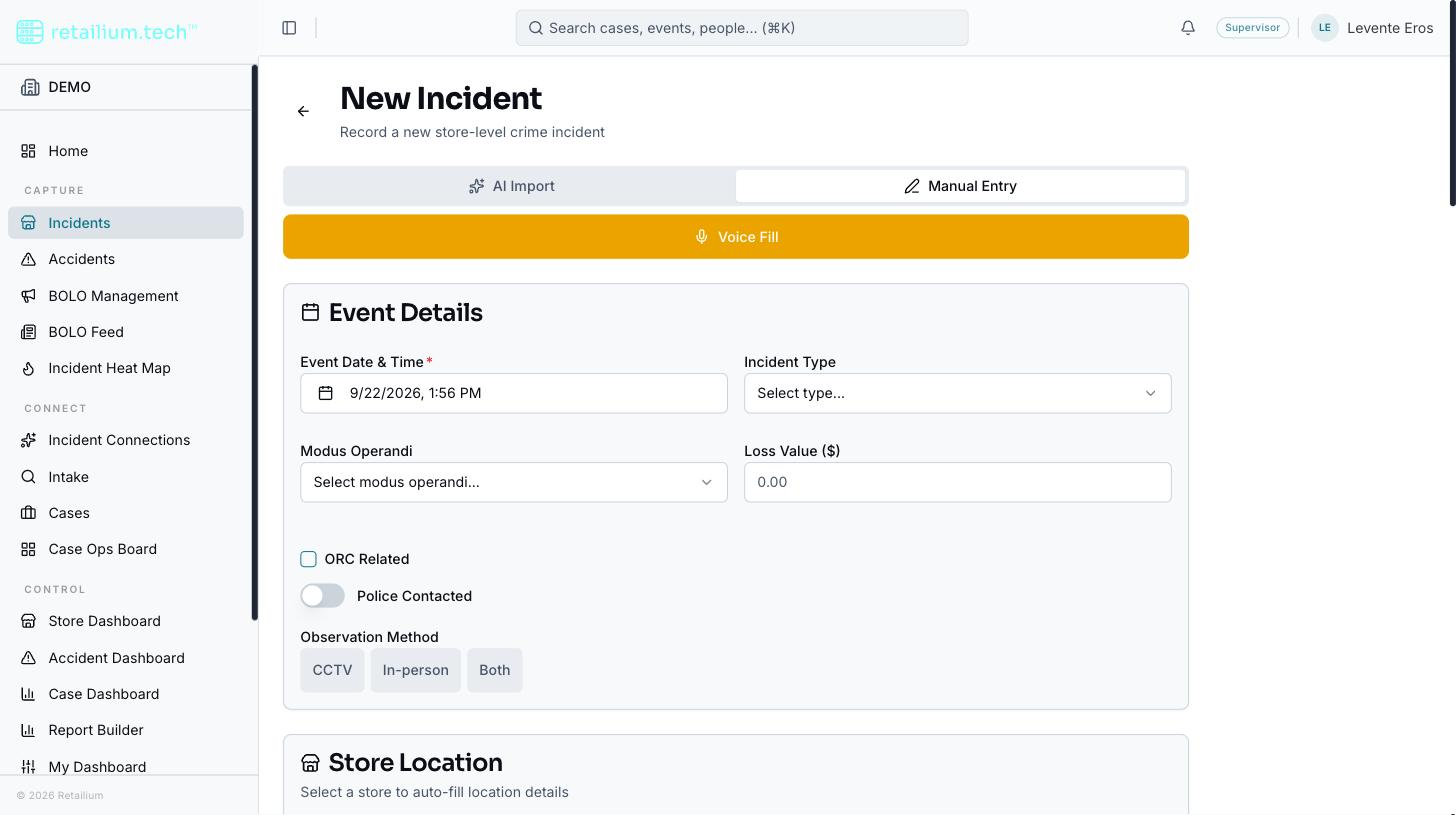
- The page opens on two tabs: Manual Entry and AI Import. Stay on Manual Entry.
Manual entry is one continuous form broken into collapsible sections. You can fill them in any order and leave sections empty.
Fill in the sections
| Section | What to enter |
|---|---|
| Event details | Date and time, store number, incident type, observation method, narrative, and police contact fields |
| Suspects | One structured entry per suspect (see below) |
| Products | The stolen items: you can scan a barcode to fill these in |
| Witnesses | Name, role, and email |
| Vehicles | Make, model, year, color, plate, and state |
| Attachments | Photos and documents |
Enter the store number first
The store number is the anchor for the whole record. When you enter a valid store number, the store's name, city, and state fill in automatically.
- Regional and District Asset Protection Managers can only choose stores inside their territory. The store picker shows nothing outside it, and a save that names an out-of-territory store is refused even if you typed the number by hand.
- An incident cannot be filed for a store that has no timezone recorded. The form rejects it with a message naming the store, rather than guessing a timezone: a guessed zone would put a permanently wrong time on a record used as evidence. If you hit this, ask an administrator to set the store's timezone in the stores registry.
Enter each suspect
Each suspect entry captures gender, age range, height, weight, build, hair color and style, skin tone, clothing (top, bottom, footwear), concealment method, structured method-of-operation fields, and a photo.
If you add a suspect or vehicle photo after saving, the platform writes a plain-language description of it automatically in the background. You do not have to wait for it, and it never blocks your work.
Save
Select Save. The incident is created and appears in the Incidents list immediately: there is no draft state, no approval queue, and no reviewer sign-off. An incident is live the moment you save it.
Saving with sections left empty is allowed. An incident with no suspects, products, witnesses, or vehicles saves normally; it simply has none of those.
Good to know
- Faster entry by voice. You can dictate the whole form instead of typing it. See Use voice-guided entry.
- Two fields appear only on imported incidents. The manual form does not offer a "CCTV available" toggle or a distinguishing-marks field, even though both appear on incidents created by document import. This is a known gap, not a permissions difference.
- No duplicate check on manual entry. Two people can hand-enter the same incident twice; the platform will not warn you. (Only document import rejects a repeat.) Search the Incidents list first if you are unsure whether an incident already exists.